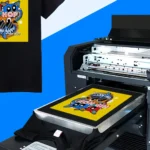
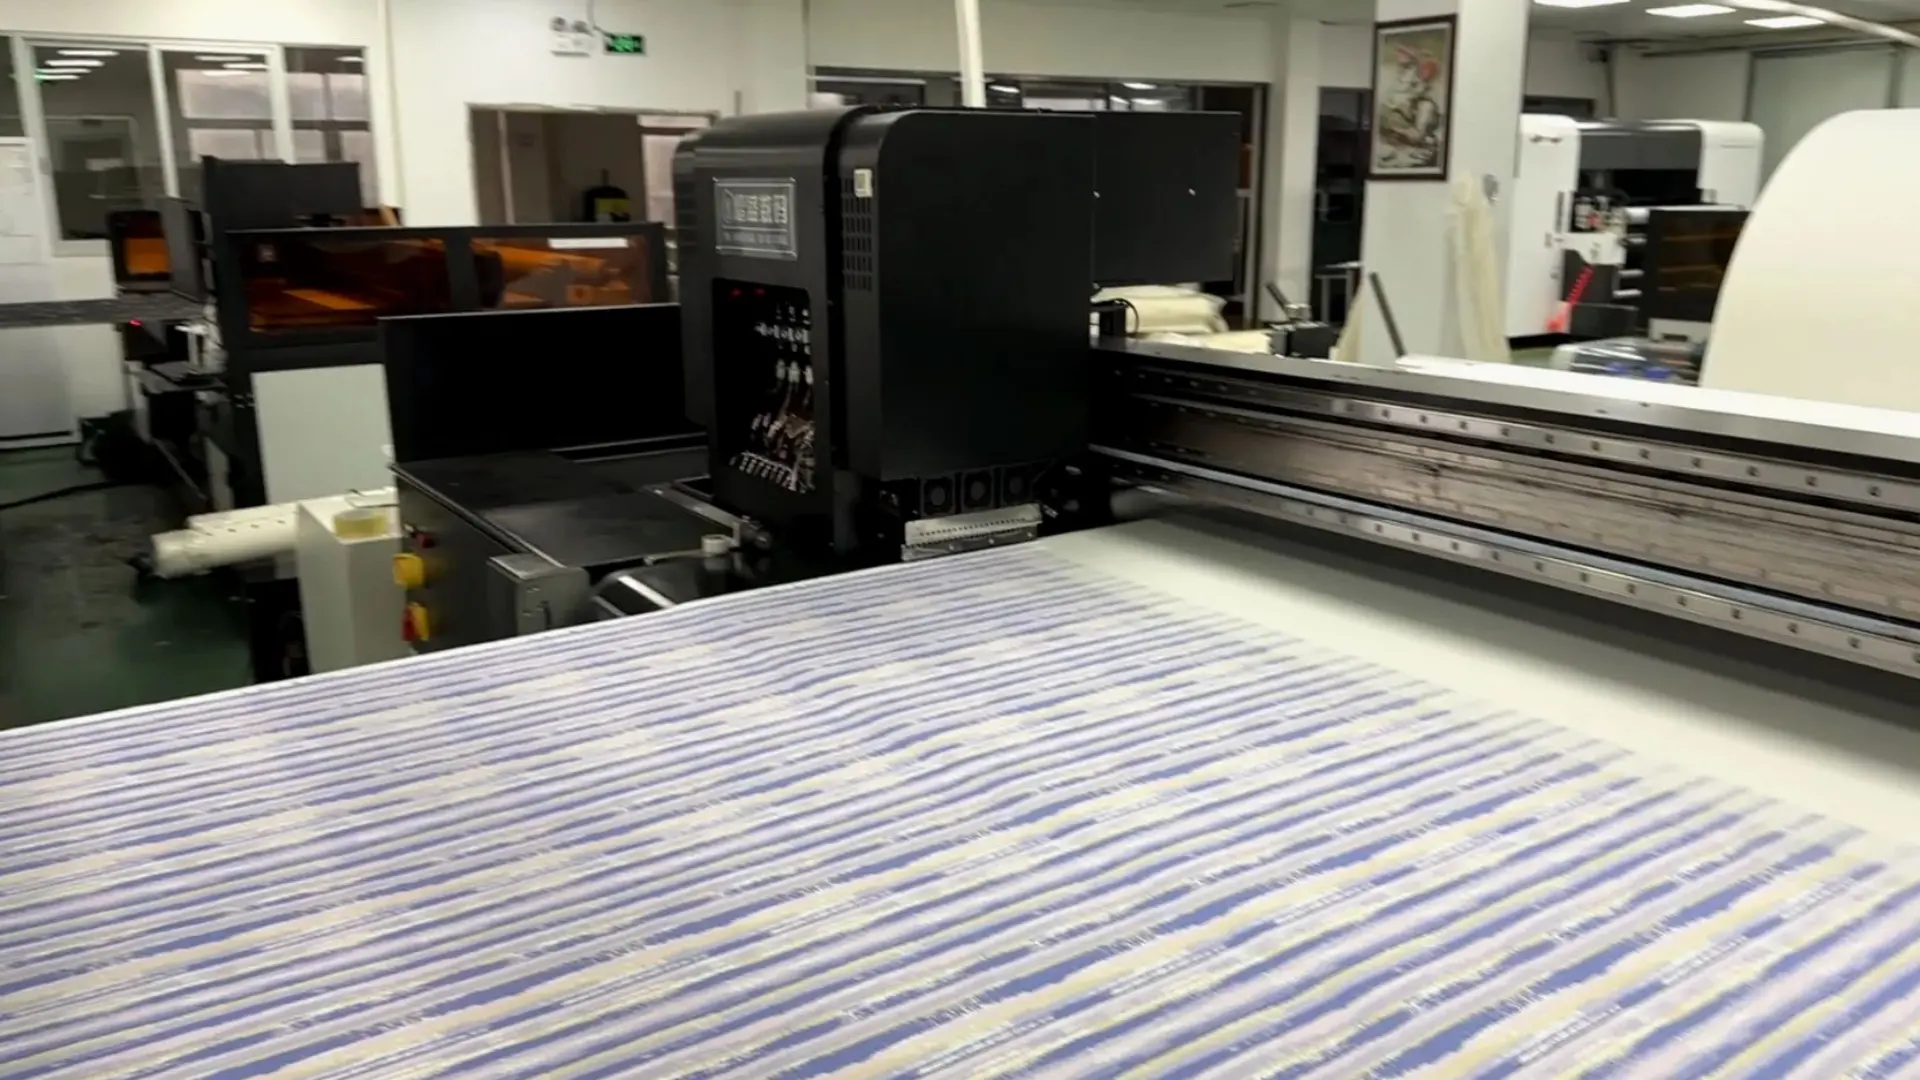
Digital textile printing machines, with their intelligent and automated features, have become the core productivity driver in the modern textile and printing industries. The control panel, serving as the critical hub for human-machine interaction, instantly paralyzes the machine’s intelligent operation when its display goes “dark.” Meanwhile, the core competitiveness of printed products—vivid colors and sharp patterns—is inseparable from color fastness, a key indicator.
This article provides an in-depth analysis of the complex causes of control panel display failures and offers systematic solutions, while comprehensively exploring the core technical pathways to enhance color fastness in digital textile printing.
I. Control Panel Display Failure: In-Depth Troubleshooting from Phenomenon to Essence
The control panel of a digital textile printing machine acts as its “brain’s window.” When this window turns black, operators lose direct control over the machine. The causes are intricate and require precise diagnosis based on the machine’s state (powered or unpowered).
1. Display Failure During Power-Off State (Machine Completely Unresponsive)
Core Root Cause: Complete Power Supply Interruption
(1) Fundamental Power Connection Failure
- Phenomenon Confirmation: The machine is completely silent, the cooling fans stop, and all indicator lights are off.
- In-Depth Inspection and Handling:
- Power Source Verification: First, confirm if the wall socket or distribution panel has power (test with a desk lamp or mobile phone charger).
- Power Cord Inspection: Carefully examine the entire power cord from the wall socket to the machine’s power inlet. Check if the plug is fully inserted into the socket and if the machine-side connector is secure. Inspect the cord for visible damage, creases, twists, or internal breaks (gently flex the cord for testing).
- Contact Point Treatment: Clean the power plug and socket metal contacts with anhydrous alcohol-soaked cotton swabs to remove oxidation. Ensure the power cord connection is stable without any wobble.
(2) Fuse/Circuit Breaker Failure
- Core Function: Fuses act as “safety valves” in circuits, sacrificing themselves by melting when current surges occur due to short circuits or overloads, thereby protecting expensive components like the motherboard and power module.
- Diagnostic Steps:
- Location: Refer to the equipment manual to find the fuse holder near the power input module.
- Visual Inspection: Transparent glass-tube fuses can be checked by observing if the internal filament is broken or blackened. Ceramic fuses require measurement with a multimeter’s resistance scale (normal: near 0Ω; blown: infinite resistance).
- Root Cause Analysis: Do not replace blindly! Investigate why the fuse blew: Was excessive peripheral equipment (e.g., dryers, exhaust systems) activated simultaneously, causing total current overload? Were there recent lightning strikes or severe grid fluctuations? Does the machine have internal short-circuit risks (e.g., damaged cables contacting metal, component breakdown)?
- Professional Handling:
- Replace only with an identical specification fuse (rated current, voltage, melting speed). Incorrect specifications may lead to inadequate protection or frequent blowouts.
- If the fuse blows again immediately after replacement, it indicates a severe internal short circuit. Stop the operation immediately and contact professional technicians. Self-repair may expand faults or cause safety hazards.
2. Display Failure During Power-On State (Machine Emits Sounds/Fans Run)
Core Root Cause: Local Failure in Display Signals or Components
(1) Display Backlight System Failure
- Phenomenon: In a dim environment, carefully observe the screen from the side. Extremely faint, blurry images may be visible, indicating the LCD panel is functioning but the backlight system (LED strips/CCFL tubes and their driver circuits) has failed.
- Causes and Handling:
- Backlight Aging/Damage: Common in older models using CCFL backlights. LED backlights have longer lifespans but higher driver circuit failure rates.
- Backlight Driver Board Failure: This board converts low-voltage DC to high-voltage AC (for CCFL) or constant current (for LED). Capacitor bulging, MOSFET breakdown, and transformer damage are frequent issues.
- Ribbon Cable Issues: Loose, poorly connected, or internally broken flexible flat cables (FFC) between the motherboard/graphics card and LCD panel.
- Professional Handling: This involves high-voltage and precision components. Strongly recommend repair by skilled technicians. Disassemble the display module, use a multimeter to test the backlight driver board input/output voltages, and inspect the ribbon cable continuity. Replace lamp strips or driver boards with exact model matches.
(2) Signal Ribbon Cable/Connector Failure
- Core Function: Flexible flat cables (FFC) or harnesses transmit display data and control signals between the motherboard (or dedicated graphics card) and LCD panel.
- Common Issues:
- Physical Damage: Cables squeezed, excessively bent (especially after equipment movement/maintenance), oxidized gold fingers, or broken connector latches.
- Poor Contact: Dust accumulation or oxidation at connectors disrupts signal transmission.
- In-Depth Inspection:
- Safety First: Power off the machine completely and unplug it.
- Disassembly: Follow the manual to carefully remove the control panel housing and expose the ribbon cable connectors.
- Visual and Tactile Inspection: Check for folds, skin breaks, or burn marks on the cable. Verify if the motherboard and panel-side connectors are loose, misaligned, or have dirty/oxidized gold fingers (blackening). Re-seat the cable (align direction, ensure latches fully lock). Clean gold fingers with electronic contact cleaner.
- Replacement Test: If available, replace with a compatible new cable for testing.
(3) Physical Damage to Display Panel (LCD)
- Phenomenon: Large black spots, radial cracks, liquid leakage traces, or a history of severe impact on the screen.
- Handling: LCD panels are irreparable. Replace with a compatible model (check the panel model on the back label).
(4) Core Control Board/Graphics Card Failure
- Phenomenon: The machine powers on normally (audible initialization, printhead movement, ink pump operation), but the screen remains blank despite ruling out all prior connection issues. May accompany abnormal motherboard status indicators.
- In-Depth Diagnosis:
- Visual Inspection: Check the motherboard/graphics card for burnt components (charring, bulging, cracking), capacitor leakage, or chip bulging.
- Olfactory Aid: Detect abnormal burning odors.
- Professional Tools: Use multimeters/oscilloscopes to test key power points (e.g., motherboard, CPU power, memory power, graphics card power) for normal voltage and clock signals.
- Handling: Most complex, often involving BGA soldering (e.g., GPU, northbridge chips) or multi-layer board wiring issues. Strongly recommend contacting equipment manufacturers or authorized service centers. Self-repair risks irreversible damage.
(5) Memory (RAM) Failure/Poor Contact – Occasionally Causes No Display
- Associated Phenomenon: More commonly causes blue screens, but memory faults during boot self-test may also lead to blank screens.
- Handling:
- Gold Finger Cleaning: Remove memory sticks, and carefully rub golden contacts with an eraser (not hands or paper) to remove oxidation. Clean slots with a soft brush or cold air from a blower.
- Reinstallation: Align memory sticks with slot notches and insert vertically until side latches click.
- Replacement Test: Substitute with compatible spare memory if available.
(6) Software/Firmware Corruption (Rare but Possible)
- Phenomenon: Severe firmware (motherboard BIOS or control board program) damage may prevent device initialization, resulting in no display.
- Handling: Attempt firmware recovery according to the device manual instructions (may require specific key combinations or USB drives). High-risk operation; follow steps strictly to avoid “bricking.” Perform under manufacturer guidance.
3. Special Analysis of Control Panel Blue Screen Issues
Core Root Cause: Memory or System-Level Software Errors
(1) Memory Issues (Primary Cause)
- Same as “(5)” above—poor contact, oxidation, physical damage, or incompatibility.
(2) Software Conflicts/Crashes
- Bugs in control software, conflicts with OS drivers, or loading incorrect configuration files.
(3) Storage Device Failure
- Bad sectors or file system corruption on system disks (HDD/SSD) are preventing critical program access.
(4) Overheating
- Poor thermal dissipation in control cabinets can cause motherboard chips or memory to overheat and become unstable.
Systematic Solutions:
- Prioritize memory handling: Clean, reseat, and test replacements.
- Software restart/reset: Reboot control computers. If issues persist, restore factory settings or reinstall control software after backing up data.
- Storage inspection: Use system tools (e.g., Windows chkdsk) to check disk errors. Consider replacing hard drives.
- Thermal optimization: Clean the control cabinet dust, ensure the cooling fans operate, and improve ventilation.
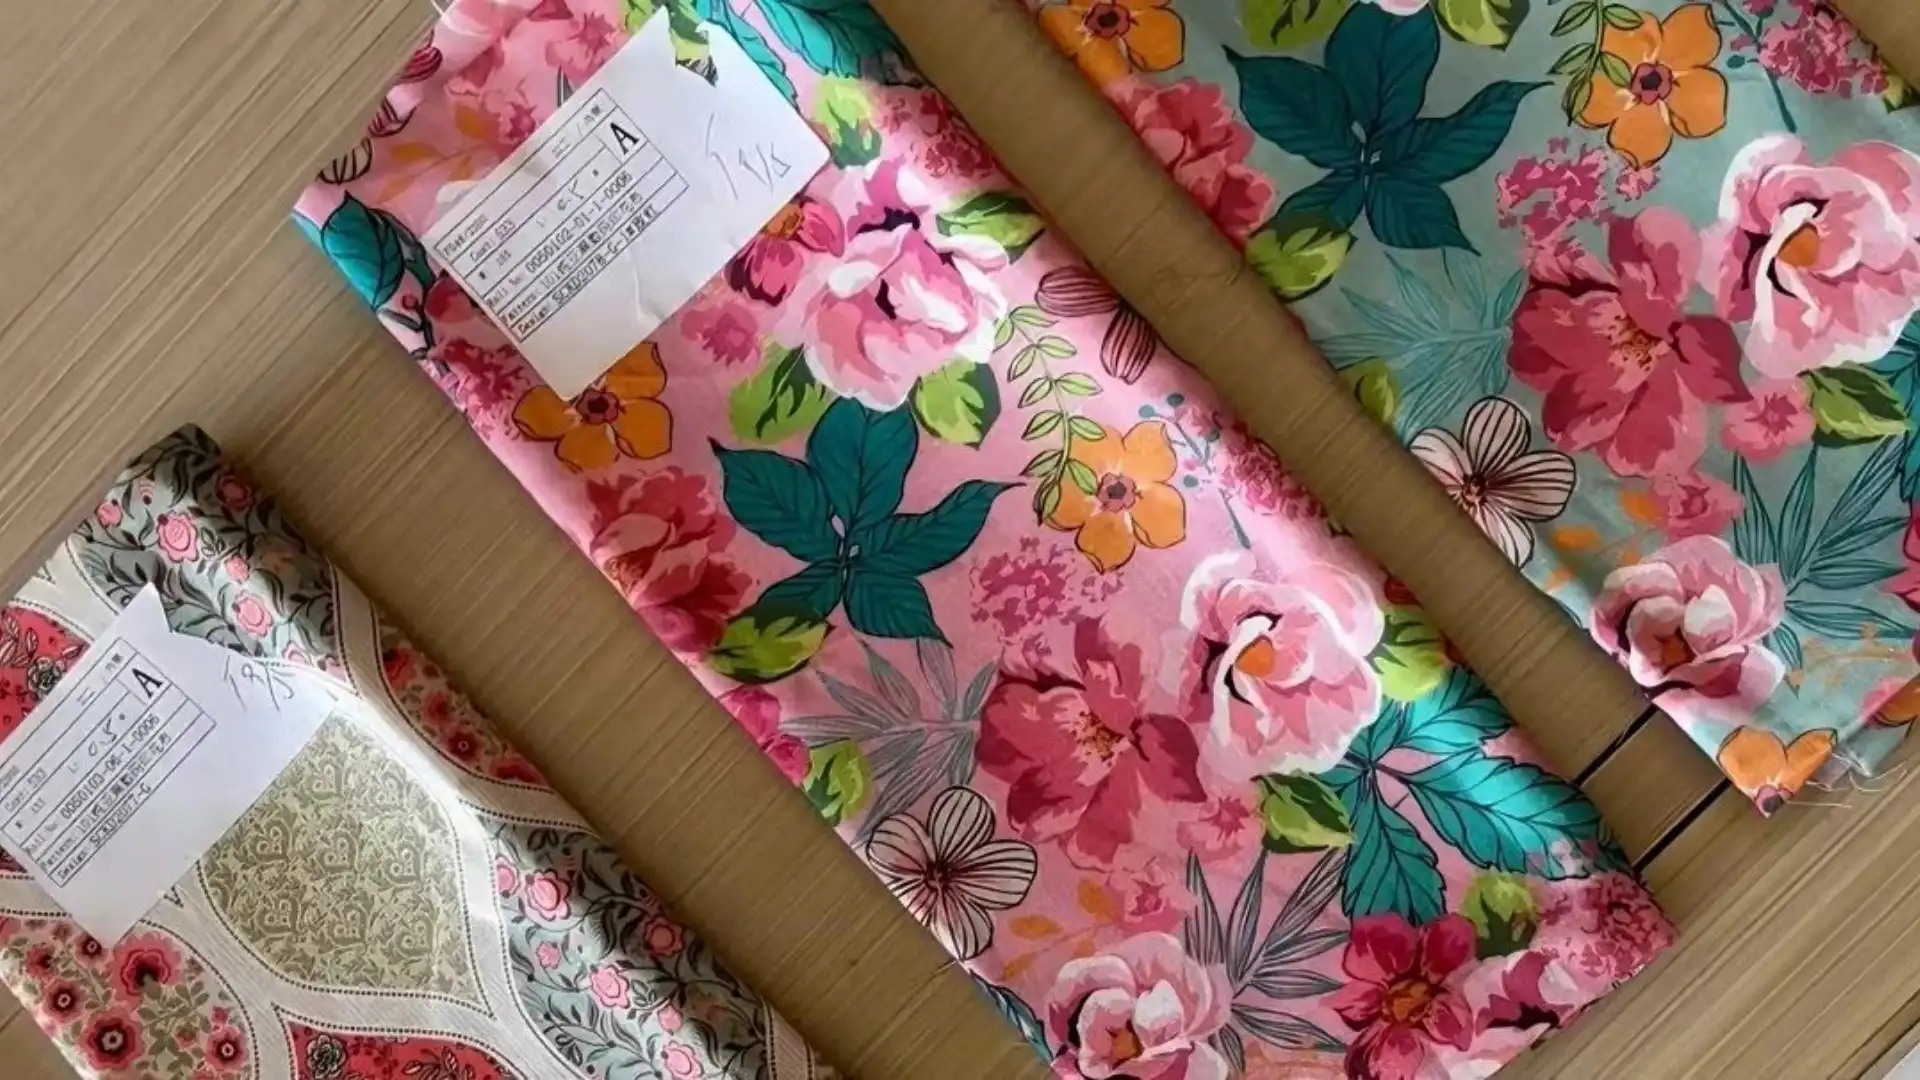
II. Core Technical System for Enhancing Color Fastness in Digital Textile Printing
Improve Color Fastness For Digital Printing
Colorfastness measures dye/ink resistance to external stresses (friction, washing, light, perspiration) and directly impacts print durability and commercial value. Enhancing color fastness requires a systematic approach:
1. Substrate Pretreatment: Building the “Foundation” for Dyeing
- Core Purpose: Remove fiber impurities (spinning oils, waxes, pectins) and improve surface hydrophilicity and ink adsorption.
- Key Processes:
- Scouring/Desizing: Thoroughly remove natural fiber co-substances (cotton pectins/waxes) or synthetic fiber spinning oils, as well as fabric sizing. Requires uniform and efficient processing.
- Specialized Pretreatment Liquid Application:
- Mechanism: Contains hygroscopic agents (e.g., sodium alginate, synthetic thickeners), alkali agents (e.g., soda ash, sodium bicarbonate), and necessary co-solvents. Hygroscopic agents ensure precise ink droplet spreading and prevent bleeding; alkali agents create pH conditions for reactive dye fixation.
- Padding Requirements: Uniformity is critical. Precisely control padding presses and liquid pick-up rates. Over-padding causes stiff handling and waste; under-padding reduces effectiveness. Drying must be gentle and uniform to avoid dye migration (dye molecule movement).
- Innovation Directions: Plasma treatment (waterless ionized gas for efficient fiber surface modification), bio-enzymatic scouring (eco-friendly and efficient).
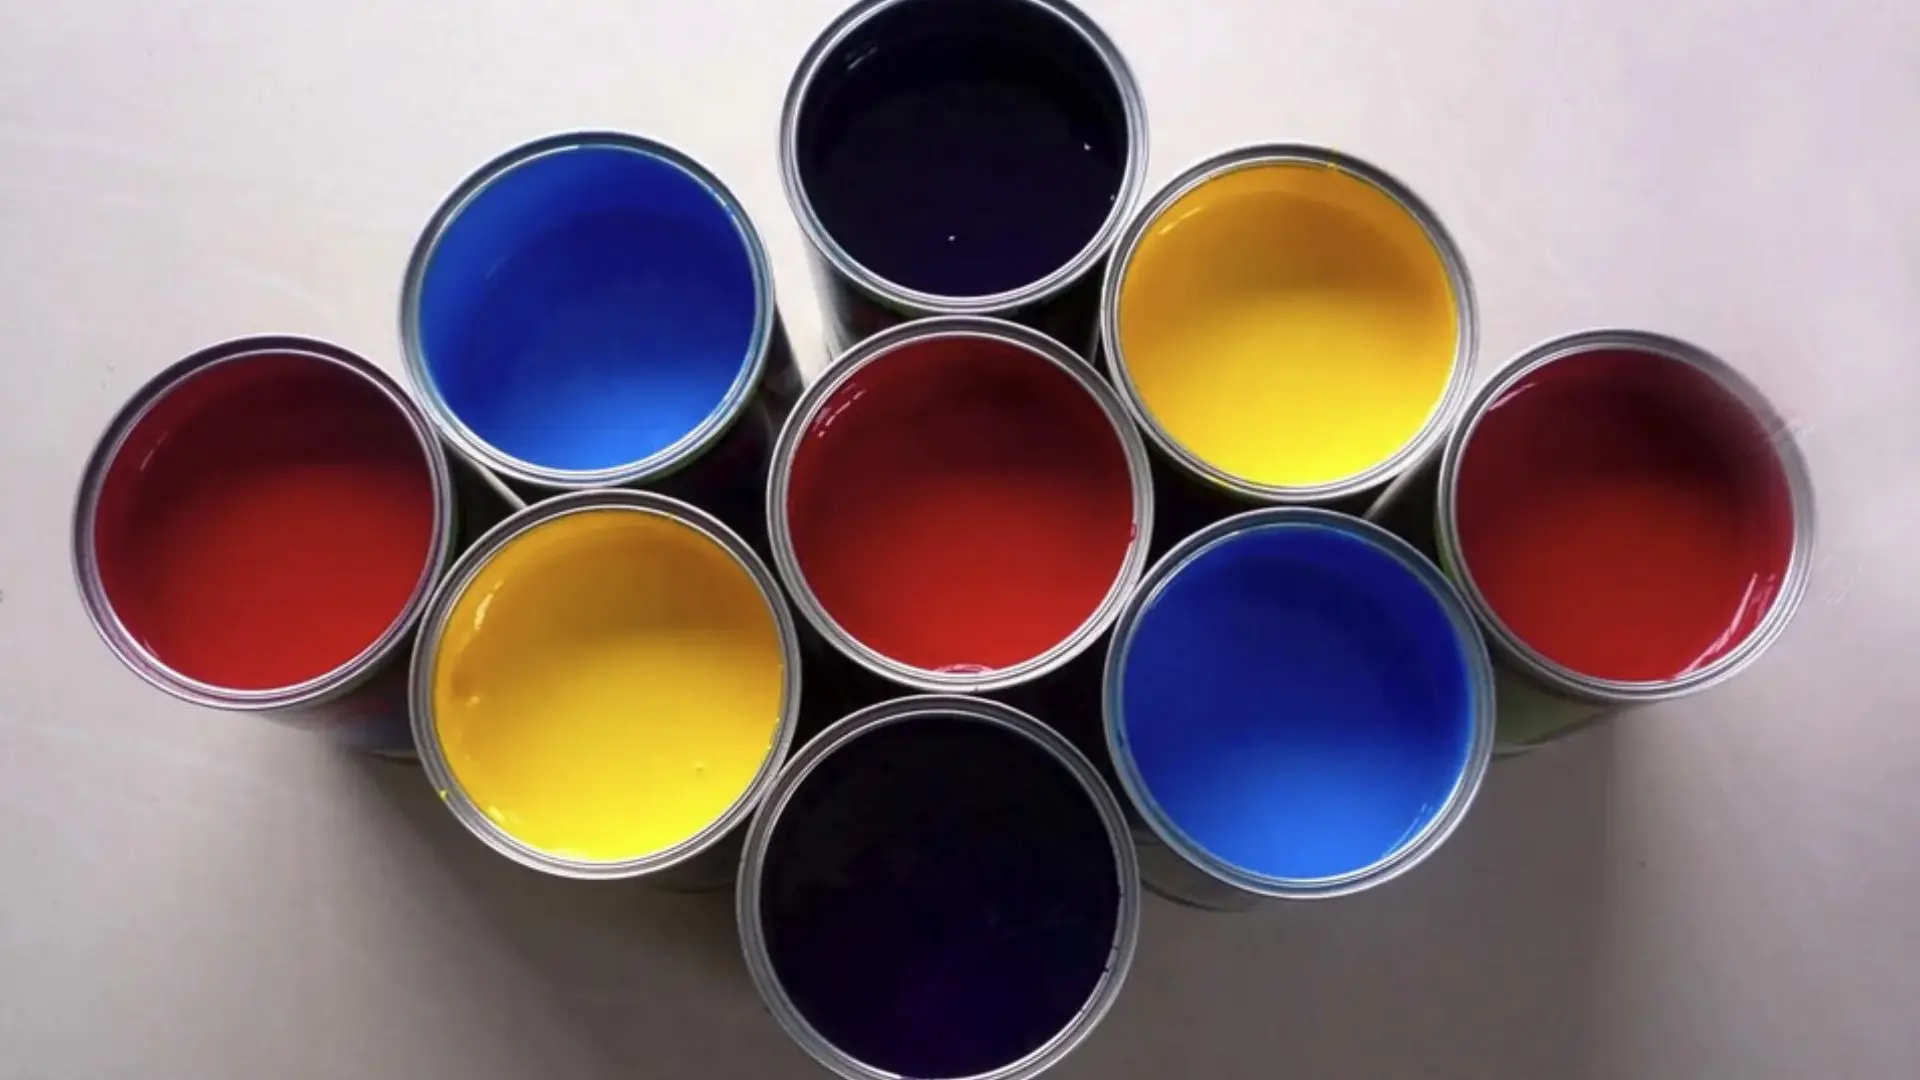
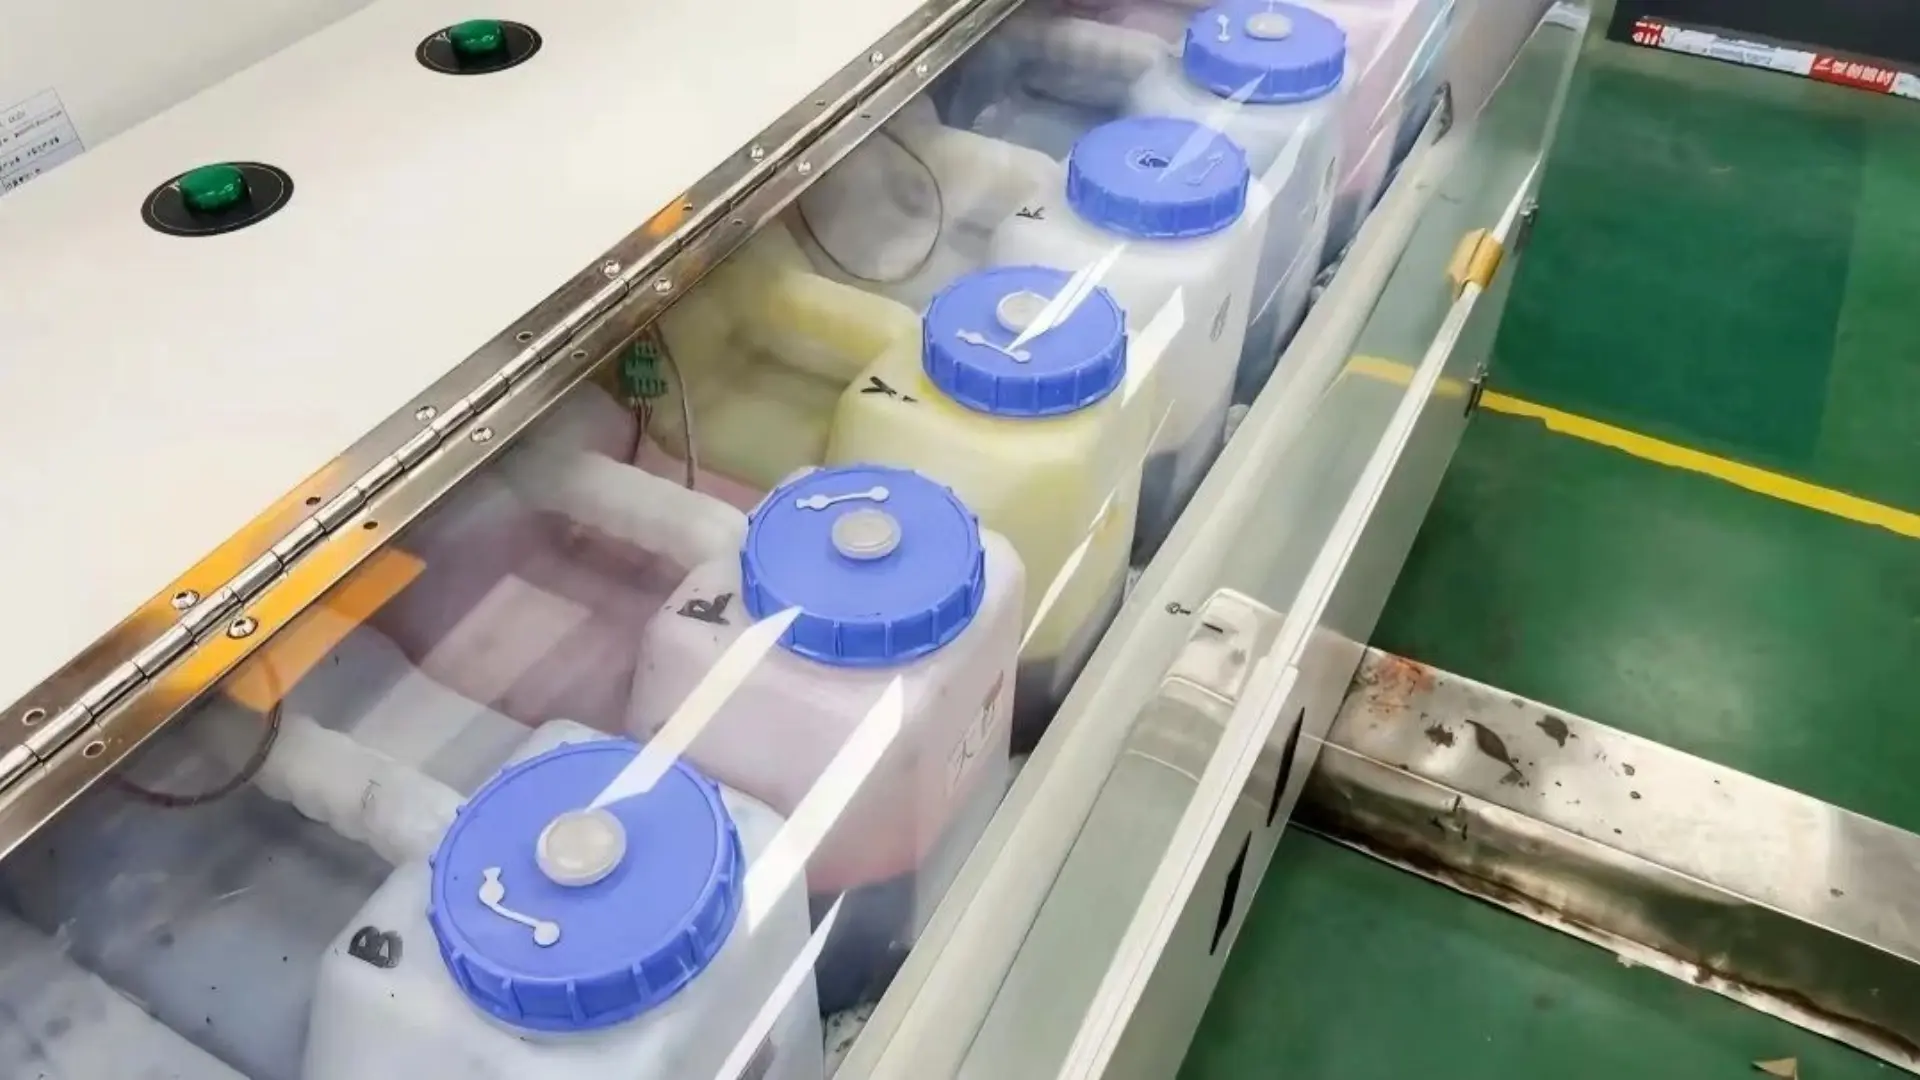
2. Ink Selection: Chemical Performance is Fundamental
- Dye Type and Fiber Compatibility:
- Reactive Inks: Preferred for cellulose/protein fibers (cotton, linen, viscose, silk). Bond covalently with fibers for theoretically high fastness. Focus on dye purity, reactivity, solubility, and build-up.
- Acid Inks: Suitable for protein fibers (nylon, wool, silk) and some modified synthetics. Bond via ionic bonds with vivid color. Focus on alkali sweat and light resistance.
- Disperse Inks: Only option for hydrophobic synthetics (polyester). Rely on high-temperature sublimation/diffusion into fibers. Focus on sublimation fastness and thermal migration.
- Pigment Inks: Most versatile (suitable for nearly all fibers), using resin binders for mechanical fixation. Advantages: simple process (no steaming/washing), good dry/wet friction fastness. Core challenges: balancing handle and wet/soaping fastness; heavily reliant on high-quality binders and optimized processes.
- Core Ink Quality Indicators:
- High Purity and Refinement: Minimize impurities interfering with color development and fixation.
- Excellent Stability: No nozzle clogging, precipitation during long-term storage, high-temperature environments, or high-speed jetting.
- Color Performance: High color strength, vividness, and wide gamut.
- Environmental Certifications: Comply with Oeko-Tex Standard 100, Bluesign, GOTS, etc.
3. Fixation Process: The Core “Furnace” for Chemical Reactions
- Reactive Inks:
- Steaming: Most mainstream and efficient method. Fabrics are exposed to saturated steam (102–105°C) for a sufficient time (8–15 minutes). Steam provides moisture and heat, enabling dye hydrolysis, diffusion, and covalent bonding with fibers. Temperature, time, and humidity uniformity are critical.
- High-Temperature Baking: Suitable for continuous production or blended fabrics. Temperature: 150–180°C, time: 1–3 minutes. Precise control prevents fabric yellowing or stiffening.
- Acid Inks: Primarily rely on saturated steam fixation (slightly lower temperature than reactive, similar time).
- Disperse Inks: Require high-temperature heat pressure (transfer paper) or high-temperature steaming/heat melting (direct polyester injection) for dye sublimation/diffusion into fibers. Temperature (200–220°C), time (20–60 seconds), and pressure uniformity are vital.
- Pigment Inks: The Core is binder film formation and curing. Requires thorough drying (110–150°C) to evaporate water, melt, and crosslink binder particles into a continuous, strong, and elastic film that firmly encapsulates pigment particles and adheres to fibers. Insufficient drying causes poor fastness and sticky handling; excessive drying causes stiff handling and cracking.
4. Post-Washing: The “Purification” Step for Floating Dyes
- Core Purpose: Thoroughly remove unbound dyes (floating colors), residual pretreatment liquids, auxiliaries, and hydrolyzed dyes. Floating colors are the main culprits for poor friction and soaping fastness.
- Standard Process:
- Cold/Warm Water Rinse: Quickly remove most surface floating colors.
- Soap Washing: Use specialized soaping agents (containing dispersants, and chelating agents) at elevated temperatures (reactive/acid: 80–95°C; disperse: 60–70°C) to thoroughly eliminate unfixed dyes and impurities within fibers.
- Hot, Warm, and Cold Water Rinses: Gradually cool to thoroughly rinse.
- Key Points: Adequate water volume, appropriate temperature, effective auxiliaries, and sufficient time. High-efficiency washing equipment (e.g., continuous open-width washing machines) outperforms manual or simple immersion methods.
5. Fixing Agent Treatment: Final “Reinforcement” Measure
- Mechanism: Applied after dye fixation to further enhance specific fastness via:
- Cationic Types: Form insoluble complexes with anionic dyes to trap them within fibers (improves wet fastness; may alter color shade).
- Reactive Types: Create “bridging” crosslinks between dyes and fibers (enhances comprehensive fastness).
- Resin Types: Form films on fiber surfaces to encapsulate dyes (significantly improves wet friction fastness, especially for pigment inks; may affect handle).
- UV Absorbers/Stabilizers: Enhance light and weather fastness.
- Application Notes: Select appropriate fixing agent types (based on dye and target fastness), strictly follow recommended processes (concentration, temperature, pH, time), and thoroughly rinse residues. Test impacts on color shade and handle!
III. Preventive Maintenance and Systematic Management: Key to Stable Operation
Establish a preventive maintenance (PM) plan:
- Power and Environment: Daily check power cord connections; regularly measure voltage stability; maintain workshop temperature/humidity within equipment requirements (typically 18–28°C, 40–60% RH); use voltage stabilizers or UPS.
- Hardware Cleaning: Weekly clean control panel vents; monthly (or as needed) use compressed air (cautiously) or vacuum cleaners to remove dust from control cabinets; regularly inspect ribbon cable connection tightness.
- Software and Data: Regularly update control software/firmware (under manufacturer guidance); routinely back up system configurations, ICC profiles, and print templates.
- Standardized Operation Records: Detail fault phenomena, machine states, recent operations, and environmental conditions during failures to aid rapid diagnosis.
- Professional Training: Ensure operators and maintenance personnel fully understand equipment principles, standard operating procedures (SOPs), and basic fault identification skills.
- Spare Parts Strategy: Stock critical consumables (e.g., fuses, specific ribbon cables, cleaning kits).
The “blindness” of a digital textile printing machine’s control panel display, though seemingly a single issue, involves multiple subsystems, including power, signals, hardware, and software. Only through systematic, logical, and layered troubleshooting—from external connections to internal cores—can the root cause be accurately located. Meanwhile, the excellent color performance and durability of digitally printed products rely on a precise technical chain spanning fiber pretreatment, ink chemistry, fixation physicochemical processes, and thorough post-treatment.
Deeply understanding and mastering these principles and process details are fundamental to ensuring stable, efficient equipment operation and consistently meeting market demands for high-end product quality. Combining refined equipment maintenance with scientific dyeing process management allows digital textile printing technology to fully unlock its immense industrial value.